This how to is a special request, Testing the Fuses and Solid State Relays in the control box of your Home Infrared Sauna.
You will need the following tools.
- Muliti-meter with Voltage AC, Voltage DC and Continuity (Tone Test)
- Philips #2
Testing the Fuses

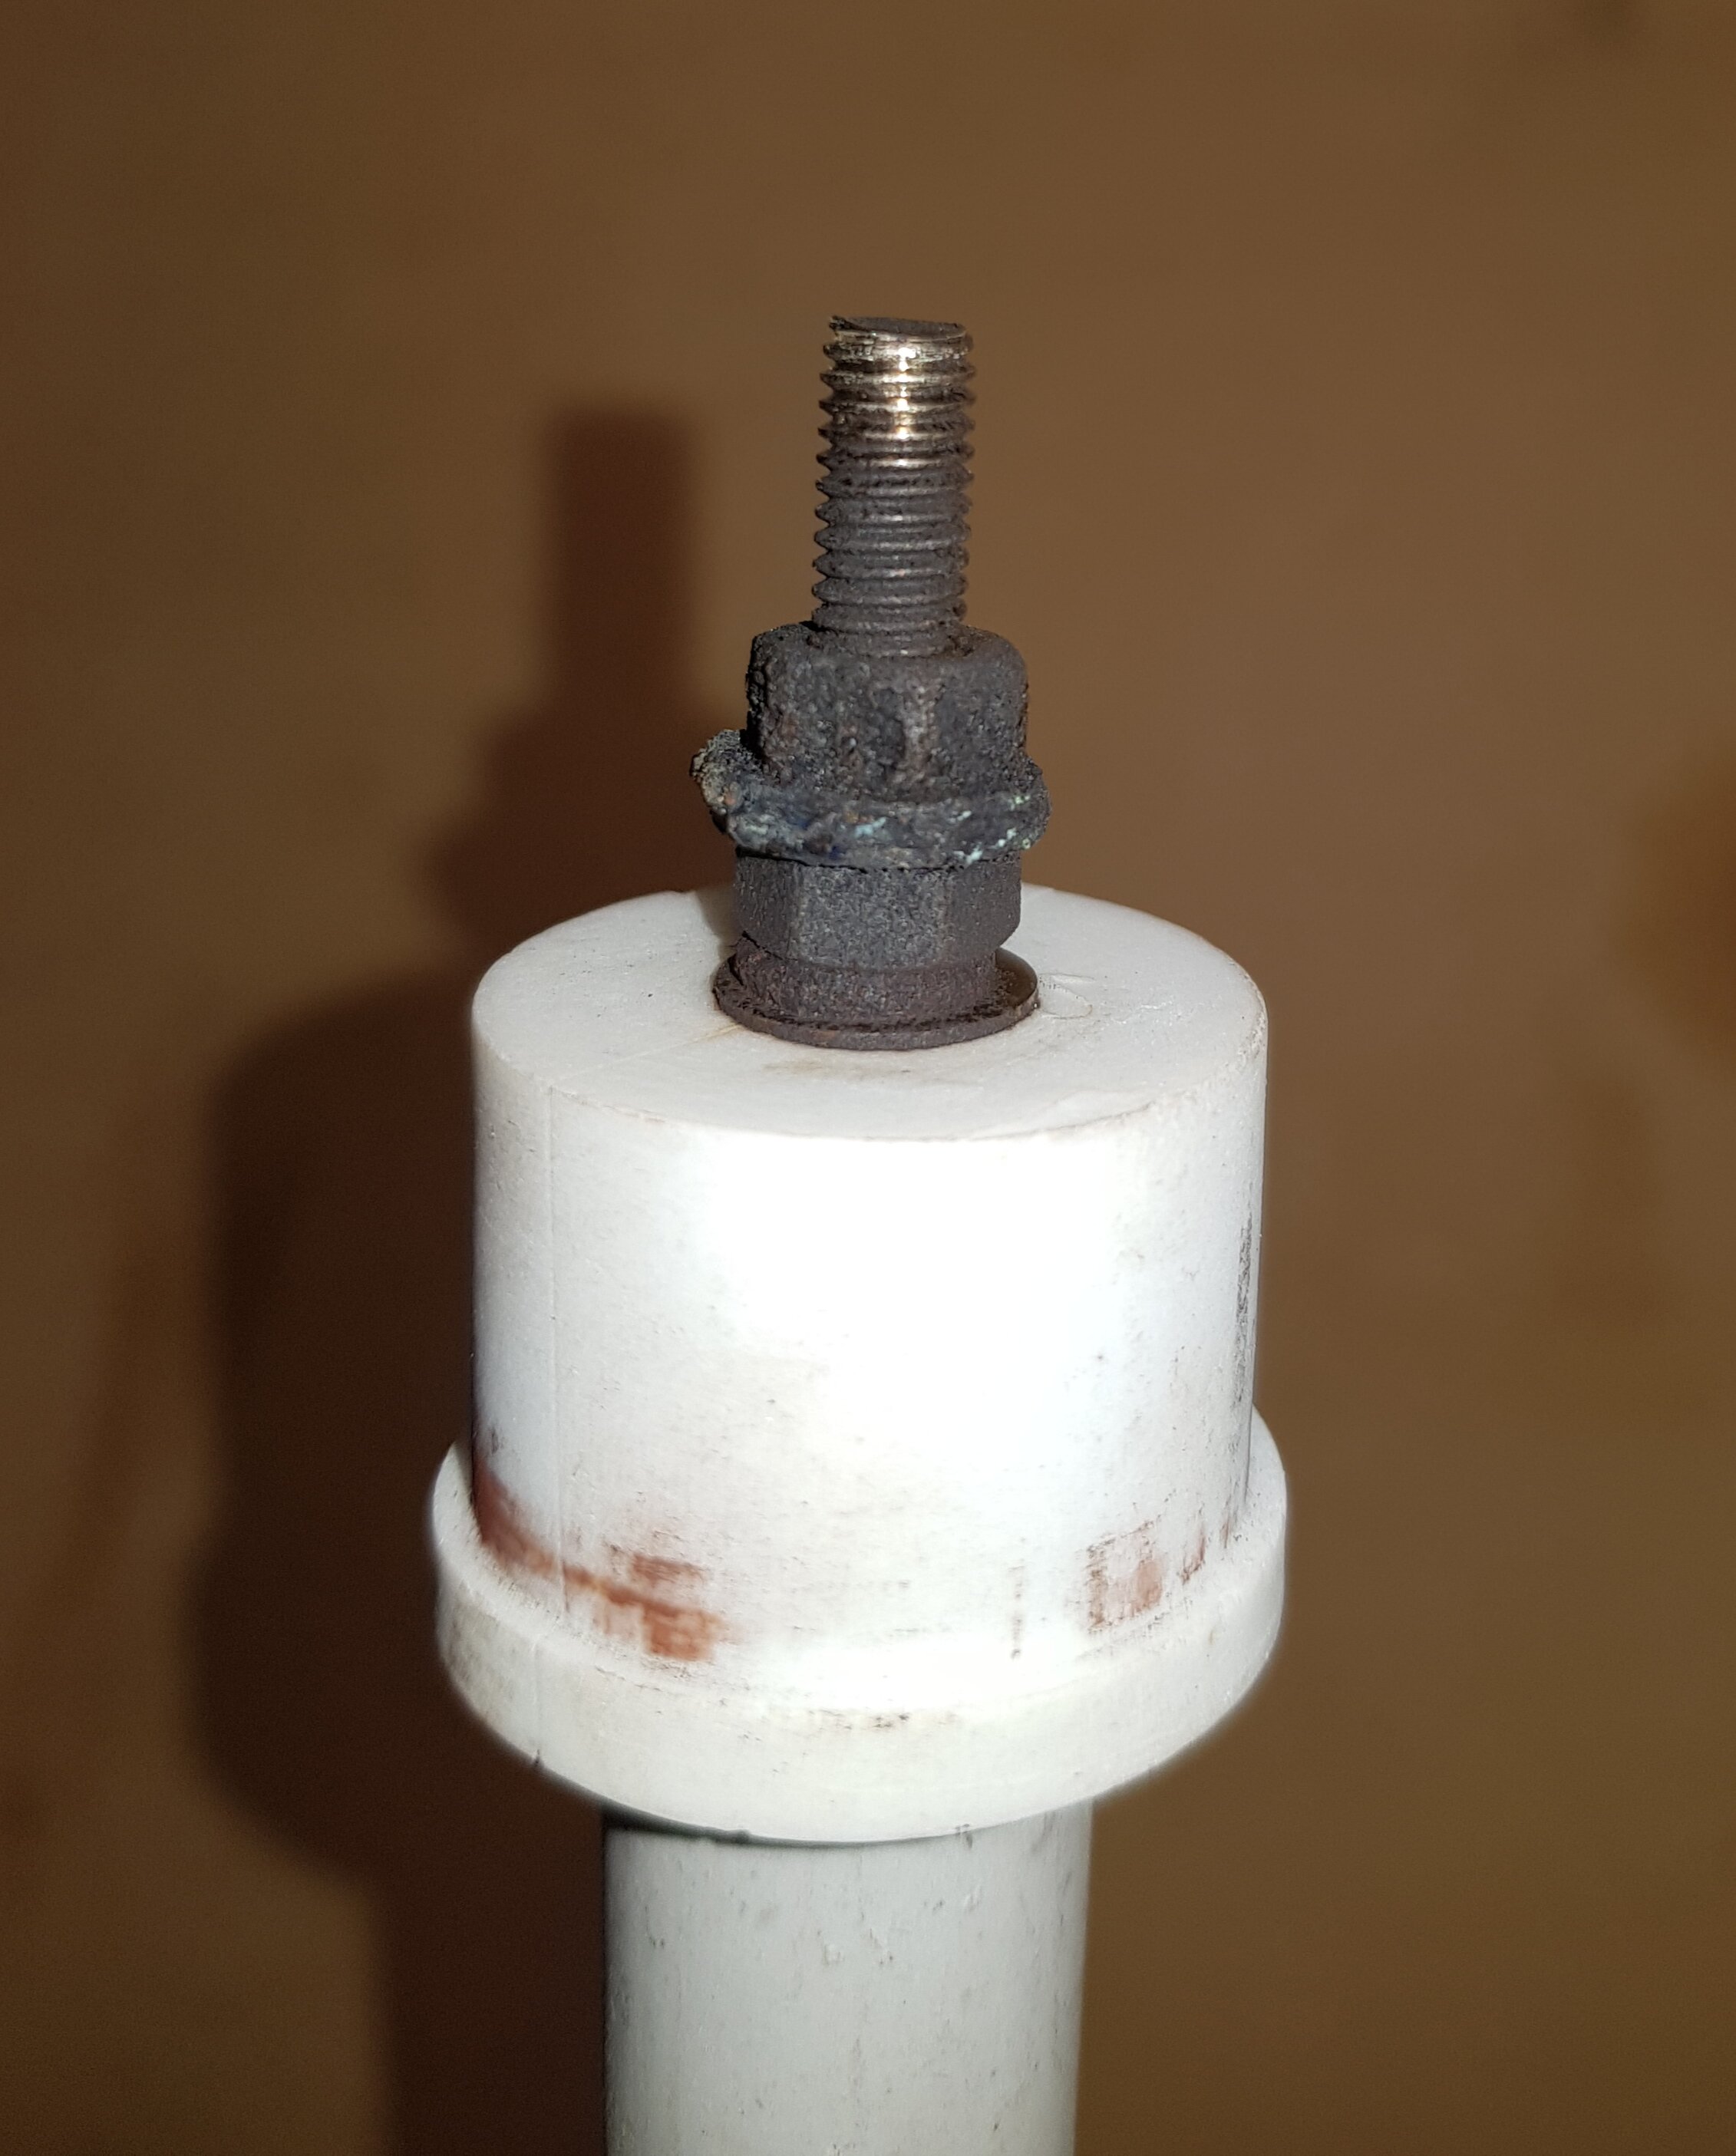
Typical multi-meter with manual voltage selection
I have pointed out above the setting on my meter that performs a Continuity test (Tone Test). If there is continuity across the fuse (while the system is off, and unplugged) then a tone will ring out confirming the Fuse is in functioning order. To start test the meter by placing the probes together to make sure you get a tone, if you do simply place one probe on each end of the fuse (pictured bellow), if you get the same tone the fuses are ok.
With the fuses tested, and replaced if necessary, we can test the Relays

The Relay has 2 sides Low Voltage DC (3-32vdc) switching side and the High Voltage switched side (110V/240V) (See picture above)
We need to check both relays next to see if either/or one has failed. First to make sure the relays are getting the right switching voltage turn on the sauna and set it to run (if this is not possible it is likely a Switching Transformer Fault). With the sauna running select the DC ⎓ voltage setting on your meter (<20vdc⎓) and place the probes on either screw on the Low Voltage DC side of one of the Relays, you should get around 3.4vdc but anything over this will work.
Once you have tested both relays low voltage switching, and the voltage is correct, move to the High Voltage AC~ side. To test the High Voltage AC~ switched side of the relay select AC~ (200 for 110v or 750 for 240v) on the meter. Place one probe on a ground or common terminal and the other probe on one of the Line terminals of the relays (the wire directly connected to the fuse). This should have a constant voltage either 110-120 or 230-240. Moving to the other terminal, the Load, test again against the ground or common, if no voltage is observed then the relay is most likely faulty, meaning that the relay is no longer pulling in allowing the heaters to operate. The non-functional relay will need to be replaced, for a how to please see the video in the link bellow
The relays described in this post are available from our Web Store. We also have a video with a similar testing situation, and a subsequent video on replacing the components on our YouTube Channel
If you have a different meter, have any further questions, or are not confident with your testing results please comment bellow I’ll to get back to you as soon as I can
As always all electrical work must be undertaken by a licensed and competent professional in you local jurisdiction